
How to Record Better Online Course Videos in 2026: A Practical Production Guide
This guide covers the essential equipment, setup techniques, and recording workflow that will make your course videos look and sound professional — without overcomplicating the process or delaying your launch.
Short answer
Audio Is More Important Than Video Quality
This is the single most important principle in course video production: students will tolerate average video quality, but they will not tolerate poor audio. Muffled sound, room echo, background noise, and inconsistent volume levels make content unwatchable regardless of how good the image looks.
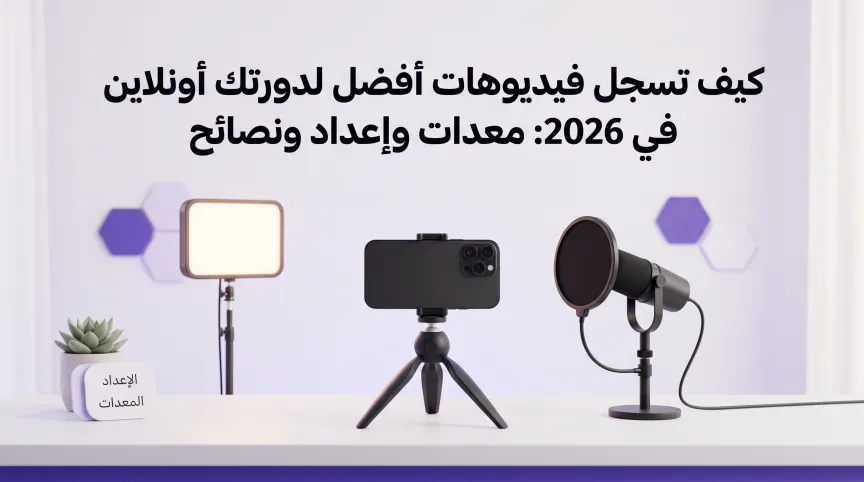
Invest in a dedicated USB microphone for desk recordings or a lavalier microphone for on-camera presentations. A quality USB condenser microphone like the Audio-Technica AT2020 or the Rode NT-USB Mini delivers studio-grade sound for under 100 pounds. For on-camera work, a wireless lavalier system like the Rode Wireless GO eliminates the cable while keeping your audio clean and consistent.
Record in a quiet room with soft furnishings — carpets, curtains, and bookshelves absorb sound reflections that create the hollow, echoey quality common in amateur recordings. If your space is acoustically challenging, inexpensive acoustic foam panels behind your monitor and on the wall you face make a dramatic difference.
Camera Options: You Already Own a Good One
Your smartphone camera from the last three years shoots better video than the professional cameras used to film television shows a decade ago. A modern iPhone or Samsung Galaxy in a simple desk tripod is a perfectly viable course camera. Set it to record at 1080p or 4K, lock the focus on your face, and ensure the lens is clean.
If you prefer a webcam setup, models like the Logitech Brio or the Elgato Facecam deliver excellent quality for screen-and-face recordings. For instructors who want a more cinematic look, a mirrorless camera like the Sony ZV-E10 or Canon EOS R50 with a kit lens gives shallow depth of field and superior image quality — but this is a nice-to-have, not a requirement.
For screen recordings and software tutorials, use dedicated screen capture software like OBS Studio (free), Camtasia, or ScreenFlow. Record at 1080p minimum, use a clean desktop with only the relevant application visible, and zoom into the areas you are demonstrating so students can follow along easily.
Lighting: The Easiest Way to Look Professional
Good lighting transforms amateur video into professional-looking content. The simplest setup is a single key light placed at a 45-degree angle to your face, slightly above eye level. A ring light works but tends to create flat, unnatural illumination. A softbox or LED panel light produces more flattering, three-dimensional lighting.
Natural window light is excellent and free — sit facing a large window with indirect daylight. Add a second, dimmer light or a reflector on the opposite side to fill in shadows. Avoid overhead fluorescent lights, mixed colour temperatures, and backlighting from windows behind you, all of which create unflattering or distracting visual results.
Consistency matters as much as quality. Record all your lessons in the same location with the same lighting setup so your course has a cohesive visual identity. Students notice when video quality varies between lessons — it signals a lack of professionalism.
Setting Up Your Recording Space
Your background communicates as much as your words. A cluttered, messy background distracts students and undermines your authority. Choose a clean, uncluttered space with a simple background — a plain wall, a bookshelf with a few tasteful items, or a professional backdrop. Depth in your background (placing yourself two to three feet from the wall) creates a natural separation that looks more polished.
Position your camera at eye level. Looking down at a laptop camera or up at a high-mounted webcam creates unflattering angles and signals low production value. A simple monitor riser or laptop stand solves this instantly. Look directly into the camera lens when speaking — not at the screen — to create the feeling of eye contact with your students.
Recording Workflow: Batch for Efficiency
Recording one lesson at a time is the least efficient approach. Instead, batch your recordings by module. Set up your space once, get your lighting and audio right, and record an entire module's worth of lessons in a single session. This saves hours of setup time and ensures visual and audio consistency across lessons.
Before each session, do a test recording of thirty seconds and review the audio levels, lighting, and framing. It is far better to catch a problem before recording an hour of content than to discover it during editing.
Use a teleprompter app on a tablet or your phone positioned next to the camera lens if you need to follow a script. Alternatively, use bullet-point notes rather than a full script — students can tell when an instructor is reading word-for-word, and it kills the natural energy of the delivery.
Editing: Keep It Simple and Focused
For most course creators, editing should be minimal and functional. Cut out long pauses, mistakes, and filler words. Add simple title cards at the beginning of each lesson. Insert screen recordings, diagrams, or slides where they support the explanation. Avoid over-editing with flashy transitions, excessive animations, or background music that competes with your voice.
Free tools like DaVinci Resolve handle professional-grade editing. For simpler needs, tools like Descript let you edit video by editing the transcript — you delete a sentence from the text, and the corresponding video is removed automatically.
Uploading and Organising Your Videos
Once your videos are edited and exported, upload them to your course platform's media library. On TRAIVIS, the centralised Media Library lets you upload, organise, and manage all your video assets in one place. You can then drag and drop videos into your course structure using the Course Workshop, keeping your content organised and your workflow efficient.
Export your videos in MP4 format at 1080p resolution with a bitrate of 5 to 10 megabits per second for the best balance between quality and file size. Name your files clearly with module and lesson numbers so they are easy to identify and organise.