
How to Create Your First Professional Map Video — A Step-by-Step Guide
From plugin installation to final export, five steps to get started
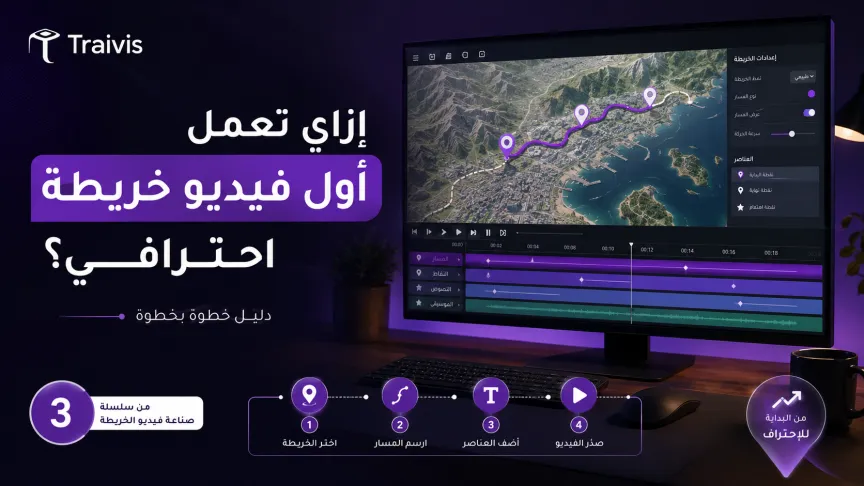
Short answer
Step 1: Install and activate the GEOlayers³ plugin
Start by installing the plugin inside After Effects, and take time to learn its interface and key tools.
Step 2: Search for and link your needed location to the map
Use the plugin's search tools to find the precise location you need for your project.
Step 3: Design camera movement over the target area
Build realistic camera movement over cities or paths with precise path drawing.
Step 4: Add graphic elements and visual effects
Add labels, animated arrows, and graphic elements that clarify the data and add visual appeal.
Step 5: Review and export the final video
Review all details before final export to confirm every element's accuracy.
To learn these steps in detail with complete projects, the Map Editing with After Effects course on Traivis takes you from installation to producing a complete professional map video, in 3 hours 58 minutes.
Who is the instructor?
The course is taught by Abdelrahman Mohamed Sayed, a content creator and Motion Designer passionate about video and animation, specializing in editing and motion graphics using Adobe After Effects, Premiere Pro, and CapCut. His style is practical and simplified, explaining step by step so anyone can confidently enter video production.
To keep building your video skills, Abdelrahman Sayed also teaches Professional Editing with CapCut and Generating Videos and Images with AI on Traivis.
Takeaway
Your first map video is easier than you think if you follow the right order.
Links
Enroll on Traivis: https://traivis.com/ar/courses/montag-alkhrayt-bastkhdam-brnamg-adoby-aftr-afkt
Instructor profile: https://traivis.com/ar/profile/abdelrahman-sayed
Related course 1: https://traivis.com/ar/courses/almontag-alahtrafy-bastkhdam-brnamg-kab-kt
Related course 2: https://traivis.com/ar/courses/tolyd-alfydyohat-oalsor-balthkaaa-alastnaaay